Traditional Cottage Cheese: Creamier & Better Than Store-Bought
Forget everything you thought you knew about cottage cheese. The truth is, the mass-produced tubs crowding supermarket shelves simply don't compare to the rich, creamy, and undeniably superior taste of homemade. If you've ever wondered how to make cottage cheese that truly elevates your palate, you're in for a delightful revelation. Making your own curds from scratch isn't just a culinary adventure; it’s a journey back to wholesome, pure ingredients and unparalleled flavor.
This isn't about complicated cheesemaking equipment or obscure techniques. Whether you have a gallon of milk nearing its expiration date or you're seeking to create a truly traditional dairy delight with rennet, crafting cottage cheese at home is surprisingly straightforward. The result? A fresh, tangy, and wonderfully textured cheese that far surpasses any store-bought alternative, allowing you to customize everything from the curd size to the exact level of creaminess.
Why Embrace Homemade Cottage Cheese? The Unbeatable Advantages
There's a good reason why homemade versions of classic foods often outshine their commercial counterparts, and cottage cheese is a prime example. Once you taste the difference, you'll understand why so many home cooks are returning to this age-old practice.
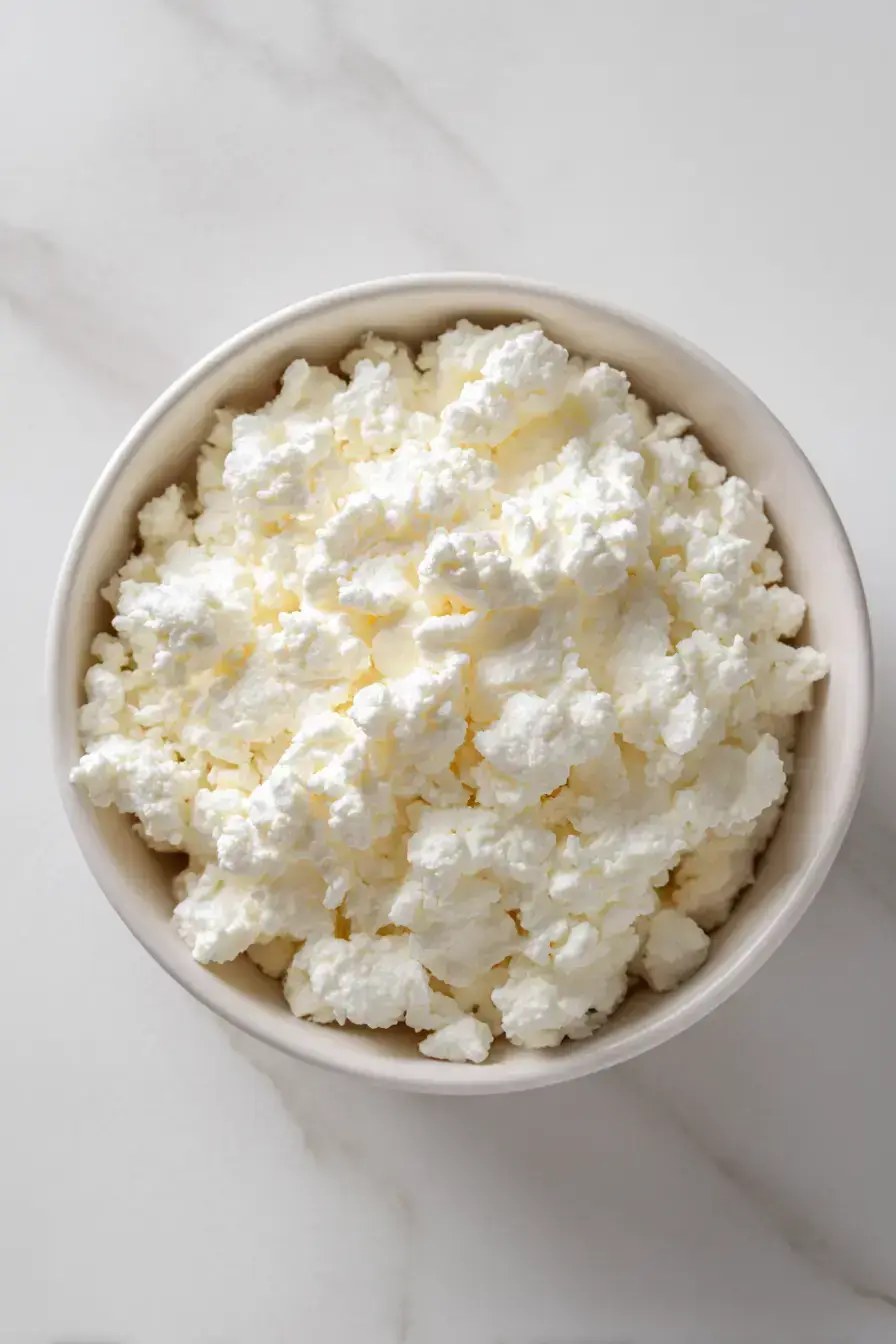
- Unrivaled Taste and Texture: This is arguably the biggest selling point. Freshly made cottage cheese boasts a clean, natural dairy flavor that store-bought versions often lack. The curds are tender, not rubbery, and incredibly satisfying. You control the final texture – from small, delicate curds to larger, more rustic ones.
- Pure Ingredients, No Nasties: Commercial cottage cheese often contains stabilizers, gums, preservatives, and other fillers to extend shelf life and mimic texture. When you make it at home, you use milk, a culturing agent (vinegar or rennet), and salt. That's it. You know exactly what you're eating.
- Complete Customization: Do you prefer a saltier cheese or a milder one? A drier curd or one swimming in luscious cream? With homemade cottage cheese, you call the shots. Adjust the amount of salt, the type of milk (skim, 2%, whole), and the richness of the final "dressing" (more milk, cream, or half-and-half) to perfectly suit your dietary needs and taste preferences.
- Cost-Effective: A single quart of milk can yield a substantial amount of cottage cheese – often 2-3 cups. When you compare the cost of a quart of quality milk to a similarly sized container of premium cottage cheese, the savings become evident, especially if you're making it regularly.
- Sustainable & Waste-Reducing: One of the most brilliant aspects of certain homemade cottage cheese methods is their ability to transform milk that's just past its prime – even lightly soured milk – into a delicious new product. This eco-conscious approach significantly reduces food waste, giving your milk a second, delicious life.
The Sour Milk Method: A Second Life for Your Dairy
It happens to the best of us: you buy a fresh gallon of milk with noble intentions, only to find it lingering in the fridge, a day or two past its prime. But don't despair or, worse, pour it down the drain! Lightly soured milk is the perfect canvas for crafting some of the most delightful homemade cottage cheese you'll ever taste. This method is incredibly quick, satisfying, and a fantastic way to minimize food waste.
What You'll Need:
- 1/2 to 1 gallon of lightly soured milk (not spoiled – no mold or truly foul smell, just past its date or slightly tangy)
- 1 tablespoon white vinegar (per 1/2 gallon of milk)
- 1/4 teaspoon salt (optional, to taste)
- Fresh milk, cream, or half-and-half for finishing
- Heavy-bottomed pot
- Slotted spoon
- Colander
- Cheesecloth (or a clean, thin kitchen towel)
Step-by-Step Instructions:
- Assess Your Milk: This step is crucial. We're talking about *lightly* soured milk, which might be a day or two past its "best by" date or has a slight tang. Avoid any milk that smells truly rancid, is chunky, or shows signs of mold. Good intentions, but some milk is simply beyond saving.
- Gentle Heating: Pour your soured milk into a heavy-bottomed pot. Heat the milk slowly over low to medium-low heat, stirring occasionally, until it reaches 185°F (85°C). It’s important to monitor the temperature carefully. Too much heat can make the curds rubbery, so a "low and slow" approach is best to achieve tender, creamy curds.
- Curdling Time: Once the milk reaches 185°F, remove it from the heat and add the white vinegar. Using your slotted spoon, stir gently for 3-4 minutes. You'll witness a magical transformation as the milk begins to separate into solid curds and yellowish-greenish liquid whey. Continue stirring until you see distinct separation.
- Strain the Curds: Line your colander with cheesecloth and place it over a large bowl or another pot to catch the whey. Carefully pour the hot curds and whey into the lined colander. Allow it to drain for 15-20 minutes, or until the curds have cooled enough to handle comfortably.
- Utilize the Whey: Don't toss that liquid gold! Whey is a nutrient-rich byproduct. Once cooled, store it in a glass jar in the refrigerator. It's excellent for adding flavor and nutrition to homemade bread, enhancing smoothies, or even watering plants. For more insights into making cheese from milk that's gone a little tangy, check out our guide on Turn Sour Milk into Fresh Cottage Cheese: An Easy Guide.
- Finish Your Curds: Once the curds are cool enough, gently squeeze any remaining whey from the cheesecloth. Transfer the curds to a clean bowl. Now comes the fun part: using freshly washed hands, gently break the curds apart to your desired size. Some prefer smaller, uniform curds, while others enjoy a chunkier, more rustic texture. Add about 1/4 teaspoon of salt (or to taste). Finally, splash in enough fresh milk, cream, or half-and-half to achieve your preferred level of creaminess. Start with a small amount and add more as needed.
The Traditional Rennet Method: Crafting Pure Perfection
For those who prefer to start with fresh milk and achieve a slightly different curd texture, the traditional rennet method is an excellent choice. This approach yields wonderfully rich, tender curds that highlight the pure essence of good quality milk.
What You'll Need:
- 1 quart milk (raw milk is fantastic, pasteurized is fine – but avoid ultra-pasteurized as its proteins are too altered to curdle effectively)
- 4 drops animal rennet (or as per package instructions for your specific rennet)
- ½–1 teaspoon salt (to taste)
- 1 cup cream (reserved for the final step, optional for extra richness)
- Heavy-bottomed pot
- Long knife (for cutting curds)
- Slotted spoon
- Colander
- Clean towel or cheesecloth
Step-by-Step Instructions:
- Warm the Milk: Pour 1 quart of milk into your heavy-bottomed pot. Gently heat the milk over low heat, stirring occasionally, until it reaches 85°F (29°C). This lower temperature is ideal for rennet activity. Using a kitchen thermometer is highly recommended for accuracy.
- Add the Rennet: Once the milk is at 85°F, remove it from the heat. Add 4 drops of animal rennet (or follow your product's specific instructions). Stir gently for about 30 seconds to distribute the rennet evenly. Avoid over-stirring, as this can disrupt curd formation.
- Set the Curd: Cover the pot and let the milk sit undisturbed at room temperature for 30-60 minutes, or until a firm curd has formed. You can test this by gently pressing a clean finger on the surface; if it breaks cleanly, it's ready.
- Cut the Curds: This step is unique to the rennet method. Using a long knife, carefully cut the set curd into a ½-inch checkerboard pattern. Then, gently angle the knife to make diagonal cuts, creating small, even cubes. This helps release the whey efficiently and influences the final curd size.
- Cook the Curds: Return the pot to very low heat. Gently stir the curds for 15-30 minutes. This slow cooking process helps to firm up the curds and expel more whey. Maintain a temperature around 85-90°F. The curds will shrink slightly and become firmer.
- Drain and Rinse: Line your colander with cheesecloth and place it over a bowl. Carefully pour the curds and whey into the colander. Allow the whey to drain. For a milder flavor, you can gently rinse the curds under cool water, which helps wash away excess whey and acidity.
- Season and Cream: Transfer the drained curds to a clean bowl. Break them up to your desired size. Add ½ to 1 teaspoon of salt, or to taste, mixing it in thoroughly. For that signature creamy texture, stir in up to 1 cup of fresh cream (or milk, half-and-half) until the curds are perfectly coated and luscious. For a deeper dive into crafting your own dairy delights, explore our guide on Make Your Own Cottage Cheese: Pure Ingredients, Custom Texture.
Essential Tips for Your Homemade Cottage Cheese Journey
Regardless of the method you choose, a few general tips will help ensure your homemade cottage cheese turns out perfectly every time:
- Temperature is King: Precision with temperature is vital. Invest in a reliable kitchen thermometer. Whether it's 185°F for the sour milk method or 85°F for the rennet method, sticking to these guidelines directly impacts the texture of your curds.
- Quality Milk Matters: While the sour milk method is forgiving, starting with good quality milk (especially for the rennet method) will yield superior results. Raw milk can offer unique nuances, but good pasteurized milk works wonderfully. Always avoid ultra-pasteurized milk for cheesemaking, as the intense heating process denatures the proteins too much.
- Don't Rush the Drain: Allow ample time for the whey to drain. The longer it drains, the drier your curds will be. If you prefer a firmer curd, let it drain for longer.
- Experiment with Finishing: The beauty of homemade is customization. Try different types of milk or cream for the final dressing. For a lighter touch, use skim milk; for ultimate indulgence, use heavy cream.
- Storage: Store your homemade cottage cheese in an airtight container in the refrigerator. It typically stays fresh for 5-7 days.
Conclusion: A Taste of True Tradition
Learning how to make cottage cheese at home is more than just a recipe; it's an empowering step towards greater self-sufficiency and a deeper appreciation for wholesome, unprocessed foods. Whether you're rescuing a gallon of milk from the brink or embarking on a traditional rennet-based creation, the reward is a truly magnificent dairy product that's creamier, fresher, and infinitely more satisfying than anything you'll find pre-packaged. Embrace the simple joy of creating something delicious from scratch, and prepare to be amazed by the superior taste and texture of your very own traditional cottage cheese.