Make Your Own Cottage Cheese: The Purest Ingredients, Your Custom Texture
There’s something uniquely satisfying about crafting food from scratch, and making your own cottage cheese is no exception. Beyond the simple joy of creation, homemade cottage cheese offers an unparalleled freshness, allows you complete control over ingredients, and lets you customize the texture and flavor to your exact liking. Forget the bland, often additive-filled store-bought versions; imagine rich, creamy curds, perfectly seasoned, waiting to be enjoyed. Whether you're looking to salvage a gallon of milk that's just a whisper past its prime, or you're ready to dive into the traditional art of cheesemaking, learning how to make cottage cheese at home is a rewarding journey. We'll explore two distinct methods – a quick acid-set technique perfect for slightly soured milk, and a traditional rennet-set approach for deeply flavorful, firm curds. Both paths promise a delicious outcome that will elevate your breakfast, lunch, or snack time.Why Embrace Homemade Cottage Cheese? Unlocking Freshness and Control
The decision to make your own cottage cheese goes beyond just a fun kitchen experiment; it's a choice for quality, health, and flavor. Here’s why homemade truly triumphs:- Pure Ingredients, No Mystery Additives: Store-bought cottage cheese often contains stabilizers, gums, and preservatives to extend shelf life and mimic texture. When you make it yourself, you control every single ingredient: milk, a coagulant, salt, and maybe a splash of cream. That's it. This purity translates directly into a cleaner, more natural taste.
- Superior Taste and Texture: Many commercial cottage cheeses can be watery or rubbery. Homemade curds, however, are delightfully tender and absorb flavors beautifully. You dictate the curd size – from fine, fluffy curds to chunky, substantial ones – and the creaminess, ensuring every spoonful is exactly how you like it.
- Dietary Customization: Watching your sodium intake? Prefer full-fat richness? You have complete authority. Adjust the amount of salt, choose skim, 2%, or whole milk, or opt for a decadent splash of heavy cream. This level of personalization is impossible with pre-packaged options.
- Cost-Effective and Waste Reduction: A quart of milk can yield a substantial amount of cottage cheese, often more affordably than buying a comparable quantity. Plus, it’s an ingenious way to utilize milk that's nearing its expiration date, turning what might have been waste into a delicious, nutritious product. For an easy guide on this, check out our article on Turn Sour Milk into Fresh Cottage Cheese: An Easy Guide.
- The Sheer Joy of Creation: There's immense satisfaction in nurturing a simple ingredient like milk into a versatile, delicious food. It connects you to culinary traditions and offers a tangible sense of accomplishment.
Method 1: The Quick & Easy Acid-Set Cottage Cheese (Perfect for Slightly Soured Milk)
This method is fantastic for beginners and an excellent way to prevent food waste. It relies on acid to curdle the milk, creating tender, mild curds.Ingredients & Equipment:
- 1/2 gallon (approx. 2 liters) fresh or lightly soured milk (avoid spoiled milk that smells truly foul)
- 1 tablespoon white vinegar (or lemon juice)
- 1/4 teaspoon salt (or to taste, optional)
- 1/4 to 1/2 cup fresh milk, half-and-half, or cream (for dressing the curds)
- Heavy-bottomed pot
- Instant-read thermometer
- Slotted spoon
- Colander
- Cheesecloth (multiple layers or a fine-mesh nut milk bag)
- Glass jar or container for storage
Step-by-Step Instructions:
- Prepare Your Milk: Pour the milk into your heavy-bottomed pot. If using slightly soured milk, ensure it's not truly spoiled with an off-putting smell or chunky texture; lightly soured means it's just a bit past its prime or has a slightly tangy aroma.
- Gentle Heating is Key: Place the pot over low to medium-low heat. Slowly warm the milk, stirring occasionally to prevent scorching, until it reaches 185°F (85°C). Use your thermometer to monitor closely. It's crucial not to let the milk boil or exceed this temperature, as too much heat can result in rubbery curds. Patience here will be rewarded with a superior texture.
- Introduce the Acid: Once the milk hits 185°F, remove it from the heat. Stir in the white vinegar. Continue to stir gently with your slotted spoon for about 3-4 minutes. You'll quickly notice the milk separating into solid curds and yellowish, watery whey. If the separation isn't clear, add another teaspoon of vinegar and stir.
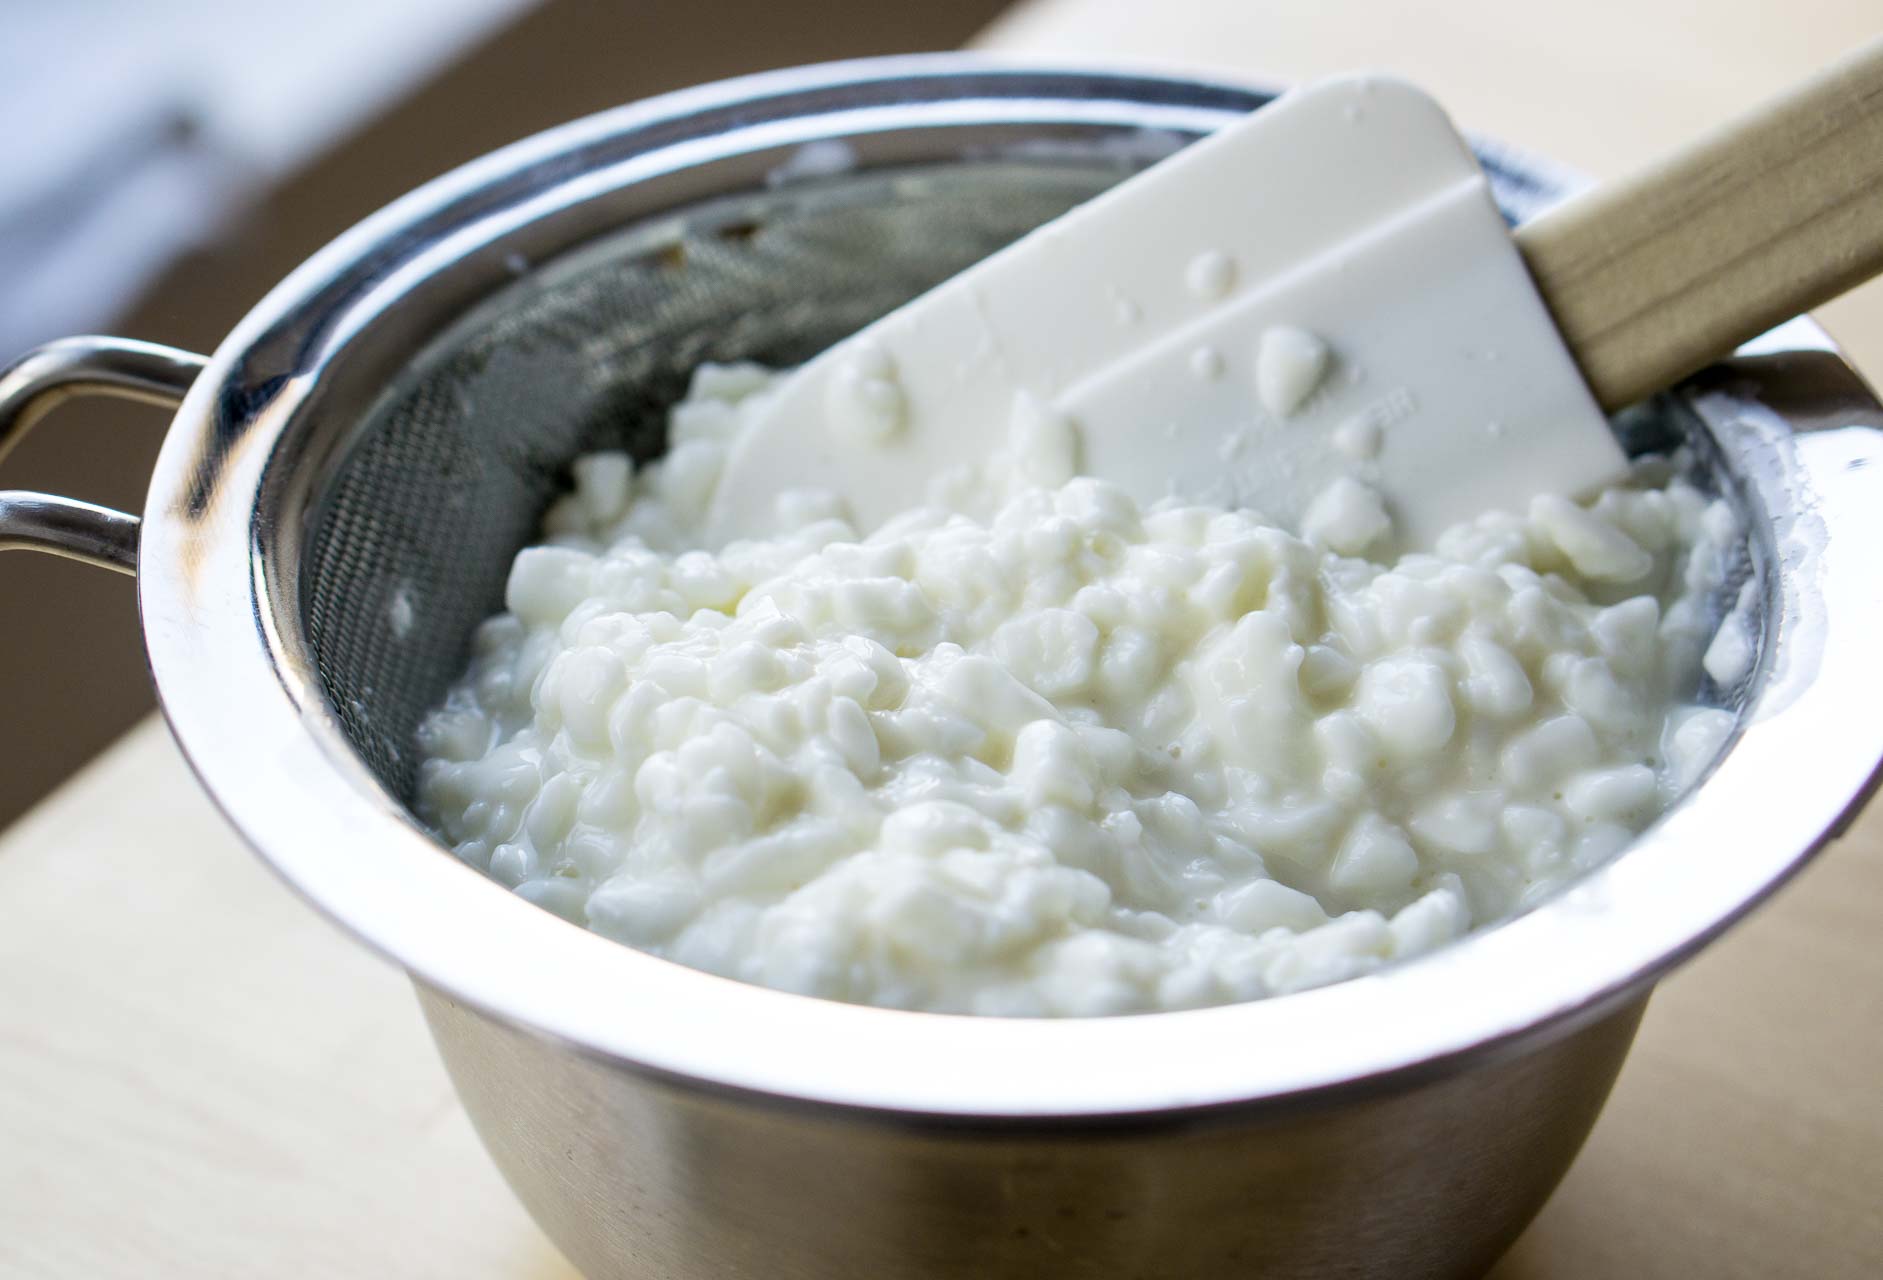
- Drain the Curds: Line your colander with several layers of cheesecloth and place it over a large bowl (to catch the whey). Carefully pour the hot curds and whey into the lined colander. Allow it to drain for 10-15 minutes.
- Rinse (Optional but Recommended): For a milder, less tangy cottage cheese, gently rinse the curds under cool running water while they are still in the cheesecloth. This washes away residual acidity. Gather the corners of the cheesecloth and gently squeeze out any excess water.
- Customize Your Curds: Transfer the drained curds to a clean bowl. Now comes the fun part: using freshly washed hands, gently crumble the curds to your desired size. Do you prefer small, delicate curds or larger, more substantial ones? This is your chance to perfect the texture.
- Season and Cream: Sprinkle with salt to taste (this is entirely optional, but enhances flavor). Then, splash in enough fresh milk, half-and-half, or cream to achieve your preferred creamy consistency. Stir gently to combine.
Your fresh homemade cottage cheese is ready to enjoy! Store it in an airtight container in the refrigerator for up to 5-7 days.
Method 2: Traditional Rennet-Set Cottage Cheese for Richer Curds
For those seeking a truly old-fashioned cottage cheese with a distinct, hearty flavor and firmer texture, the rennet-set method is ideal. This technique creates a custard-like curd that is then carefully handled to become cottage cheese. For more on this, dive into our article on Traditional Cottage Cheese: Creamier & Better Than Store-Bought.Ingredients & Equipment:
- 1 gallon (approx. 4 liters) whole milk (raw milk is excellent, pasteurized is fine; avoid ultra-pasteurized)
- 4-6 drops liquid animal rennet (or vegetable rennet, following manufacturer's instructions) diluted in 1/4 cup cool, non-chlorinated water
- 1/2 - 1 teaspoon salt (to taste)
- 1 cup cream or half-and-half (for dressing)
- Heavy-bottomed pot
- Instant-read thermometer
- Long knife or curd cutter
- Slotted spoon
- Colander
- Cheesecloth
Step-by-Step Instructions:
- Warm the Milk: Pour the milk into your heavy-bottomed pot. Slowly heat the milk over low heat, stirring occasionally, until it reaches 85°F (29°C). This precise temperature is crucial for the rennet to work effectively.
- Add the Rennet: Remove the pot from the heat. Gently stir in the diluted rennet. Stir for about 30 seconds, then stop stirring immediately to allow the curds to set undisturbed.
- Setting the Curd: Cover the pot and let it sit at room temperature for 1-2 hours, or until a "clean break" is achieved. To test for a clean break, insert a clean knife into the curd at an angle and lift slightly. If the curd cleanly separates, revealing clear whey, it's ready.
- Cut the Curds: Using your long knife, carefully cut the set curds into 1/2 to 1-inch cubes. Make vertical and horizontal cuts across the entire surface of the curd, reaching the bottom of the pot. This step helps the whey release evenly.
- Cook the Curds: Place the pot back on very low heat. Gently and slowly warm the curds to 105-115°F (41-46°C) over 30-60 minutes, stirring very gently and occasionally to prevent sticking and encourage whey expulsion. The curds will shrink and firm up slightly.
- Drain and Rinse: Line your colander with cheesecloth. Carefully pour the curds and whey into the colander. Allow the whey to drain for about 15-20 minutes. Then, gently rinse the curds under cool running water to stop the cooking process and wash away any residual tang, creating a milder flavor. Gather the cheesecloth and gently squeeze to remove excess water.
- Season and Cream: Transfer the drained curds to a bowl. Break them up gently with your hands to your desired size. Add salt to taste, then stir in the cream or half-and-half until it reaches your preferred level of creaminess.
Your traditional homemade cottage cheese is ready! Store it in an airtight container in the refrigerator for up to a week.
Tips for the Perfect Homemade Batch
- Milk Quality Matters: For either method, raw milk or good quality, non-homogenized pasteurized milk often yields the best results. Ultra-pasteurized milk can be difficult to curdle due to its intensive heat treatment.
- Temperature Precision: A reliable thermometer is your best friend. Accurate temperatures are critical for proper curd formation and texture, especially with rennet.
- Gentle Handling: Curds are delicate. Treat them gently throughout the process – during heating, stirring, and draining – to prevent them from breaking down too much or becoming tough.
- Don't Waste the Whey: The liquid whey byproduct is surprisingly versatile. It can be used in baking (especially bread), for fermenting vegetables, added to smoothies for extra protein, or even given to pets.
- Experiment with Add-ins: Once your base cottage cheese is made, the possibilities are endless. Mix in fresh herbs like chives or dill, diced vegetables, fruit, honey, or a sprinkle of black pepper for personalized flavor profiles.
